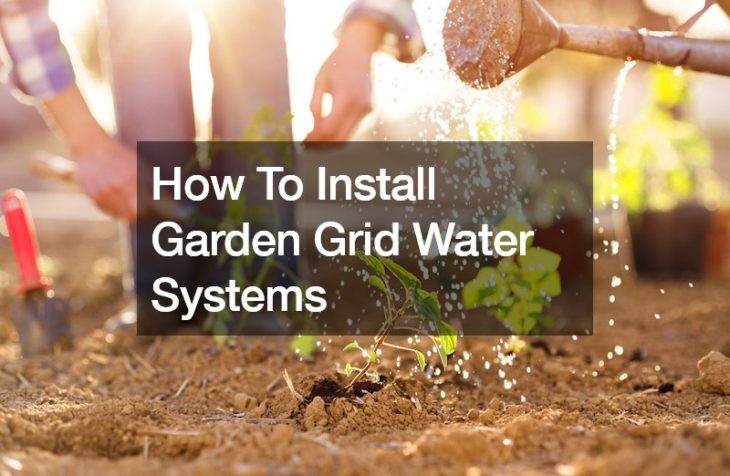
How To Install Garden Grid Water Systems

Installing garden grid water systems can be a practical and efficient way to ensure proper hydration for your plants while conserving water. Here’s a step-by-step guide to help you through the installation process:
Firstly, assess your garden layout and determine where you want to install the grid system. Consider factors such as plant placement, sunlight exposure, and accessibility to water sources.
Next, gather the necessary materials and tools.
You’ll typically need PVC pipes or hoses, connectors, emitters or drip heads, stakes or supports, and a timer if you want to automate watering schedules.
Prepare the area by clearing any debris and leveling the ground where the pipes or hoses will be laid. This ensures even distribution of water to your plants.
Lay out the main supply line along the desired paths, ensuring it reaches all areas of your garden. Use connectors and elbows as needed to navigate corners or changes in direction.
Install emitters or drip heads at regular intervals along the supply line, positioning them near each plant or group of plants to deliver water directly to the root zone.
Secure the grid system in place using stakes or supports to prevent movement or damage from wind or accidental disturbance.
Test the system to ensure proper functionality and adjust the water flow or emitter positions as necessary to achieve optimal coverage and hydration for your plants.
Lastly, monitor your garden regularly to ensure the system is working effectively and make adjustments as your plants grow and watering needs change.

By following these steps, you can install garden grid water systems that promote healthy plant growth, conserve water, and simplify maintenance in your garden.